Experimental operation method of Fabric thickness gauge
Products 4 8 月, 2025
Fabric thickness gauge
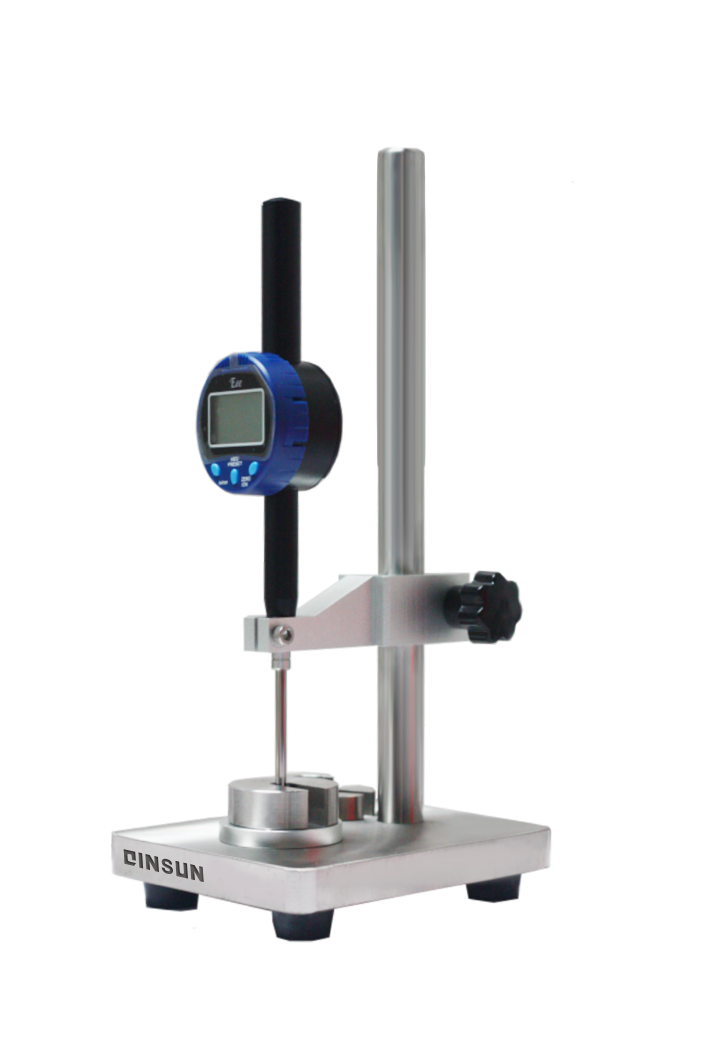
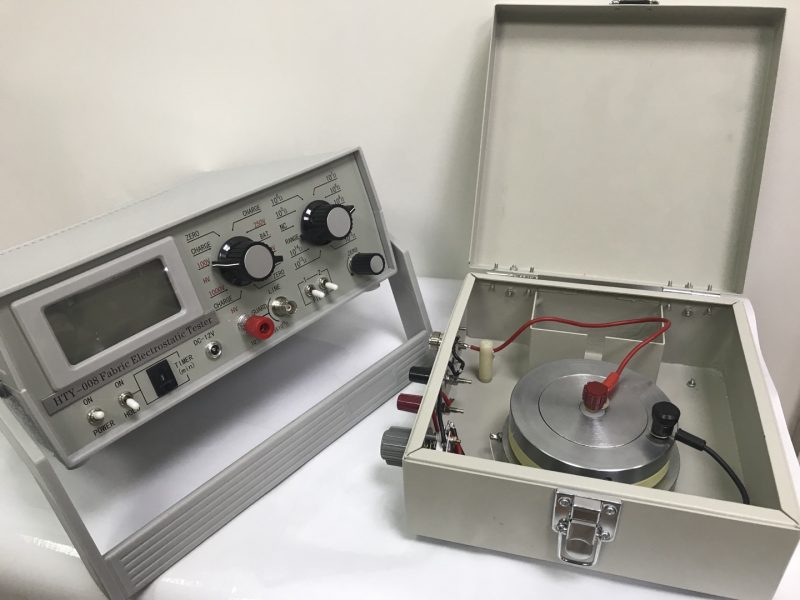
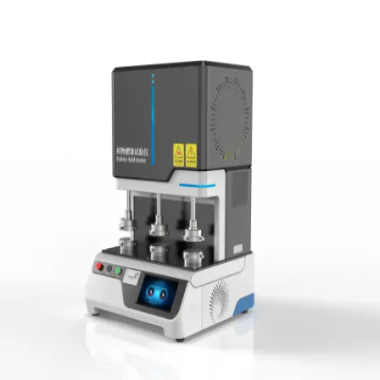
The fabric thickness gauge is a standardized instrument specifically used to measure the thickness of various types of textiles, including woven fabrics, knitted fabrics, and non-woven fabrics [1-2]. The device complies with a number of national standards such as GB/T3820-1997 and FZ/T60004, as well as ISO international standards. It can achieve accurate measurement in the range of 0.01-10mm by replacing different specifications of presser feet and weights, with a minimum graduation value of 0.01mm. The YG141 device released in 2017 uses digital display technology and is equipped with multiple pressure parameter combinations.
I. Experimental Objectives and Requirements
Measure fabric thickness according to national standard GB3820-1999. Through this measurement, learn the experimental method and calculation methods for various indicators, and understand the factors that influence the experimental results.
II. Basic Knowledge
Fabric thickness is primarily related to yarn fineness, fabric weave, and the degree of yarn curvature within the fabric. It is generally expressed in millimeters. Fabric thickness significantly affects fabric wearability, such as fastness, warmth, breathability, wind resistance, stiffness, and drape, all of which are largely related to fabric thickness.
III. Experimental Apparatus and Specimens
Fabric thickness is measured using a YG(B)141D digital fabric thickness gauge (see Figure 1-1). This instrument features a motorized lift, a pulley static balance device, an automatic timer, and an electronic dial indicator. It boasts a rational structure, reliable performance, and easy operation, and can be used in standard laboratory environments. Specimens are several pieces of woven and knitted fabric.
IV. Experimental Method and Procedures
Experimental Procedures:
1 Clean the exposed parts of the instrument, especially the reference plate, presser foot, and measuring rod, to ensure they are free of dust and fibers.
2Select the presser foot area, pressing time, and pressing weight according to the requirements of the fabric being tested. Replace the selected presser foot and pressing weight (selected in accordance with GB/T3820-1999).
3 Select “Continuous” or “Single” and the “10s” or “30s” button position as required. Turn on the power supply and press the start button to start the instrument.
4 Zeroing the Electronic Dial Indicator: Turn on the power supply and turn on the power switch. The power indicator will illuminate. Select the presser foot area and pressing weight according to the requirements of the fabric being tested. Turn the button to the “Single” position and press the start button to start the instrument. When the presser foot contacts the reference plate, the reading indicator will illuminate and the buzzer will sound. Press the reset button to reset the electronic dial indicator to zero.
5. When the presser foot is raised, place the fabric or sample under test on the reference plate without tension.
6. “Single” Test: When the presser foot presses the fabric under test for 10 seconds, the reading indicator automatically illuminates and a buzzer sounds. While the reading indicator illuminates, read the thickness value displayed on the electronic dial indicator as quickly as possible and record it. If the reading indicator does not illuminate, the value displayed on the electronic dial indicator is invalid.
7. “Continuous” Test: After the reading indicator goes out, the presser foot automatically raises, cycling up and down.
Using the time between the presser foot’s rise and fall, move the fabric under test to a new measurement location and record its thickness readings one by one. (If the reading indicator illuminates, the recorded value is valid; otherwise, it is invalid.)
8. When the test is complete, return the presser foot to its initial position (i.e., in contact with the reference plate), turn off the power, remove the weight, and cover the instrument with a cloth to prevent dust intrusion.
Precautions:
⑴ When replacing the presser foot or when the instrument is not in use for an extended period, place a protective rubber pad between the presser foot and the reference plate to protect the measuring surface from damage.
⑵ After each experiment, turn off the power switch and unplug the instrument.
⑶ Clean and maintain the instrument properly to ensure the smooth operation of the transmission mechanism and regularly add a small amount of watch oil.
⑷ Regularly calibrate the instrument as needed to ensure the accuracy of the measured values.
⑸ Remove the batteries when the instrument is not in use for an extended period to prevent leakage.


